Overhead Squat
How to Fix a Muted Hip in the Overhead Squat
The overhead squat is a challenging movement that requires strength, mobility, and coordination. However, one of the most common mistakes people make is the muted hip, an issue that can lead to poor form and even injury if not corrected.
Let’s break it down and learn how to fix this flaw, step by step.
What is a Muted Hip?
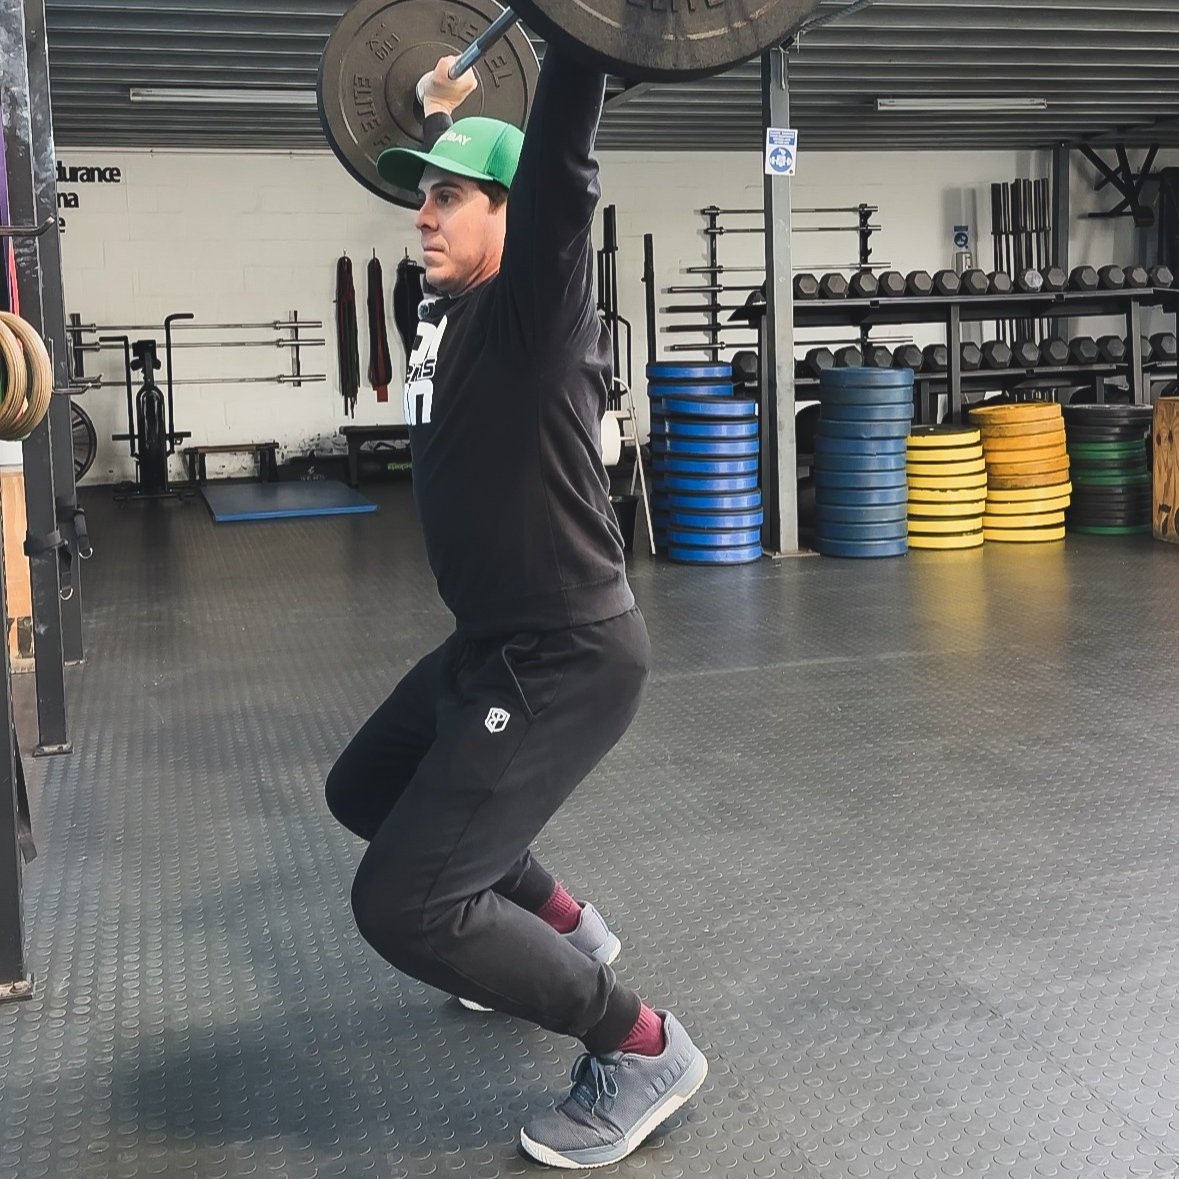
A muted hip occurs when you bend your knees first instead of initiating the movement from your hips. In other words, your hips don’t "engage" properly, which causes your body to move out of alignment during the squat.
Why is this a Problem?
When your knees bend before your hips, you lose balance, and your weight shifts forward, placing unnecessary strain on your knees and lower back. This also limits the range of motion in your squat, reducing the overall effectiveness of the movement.
What Should a Proper Overhead Squat Look Like?
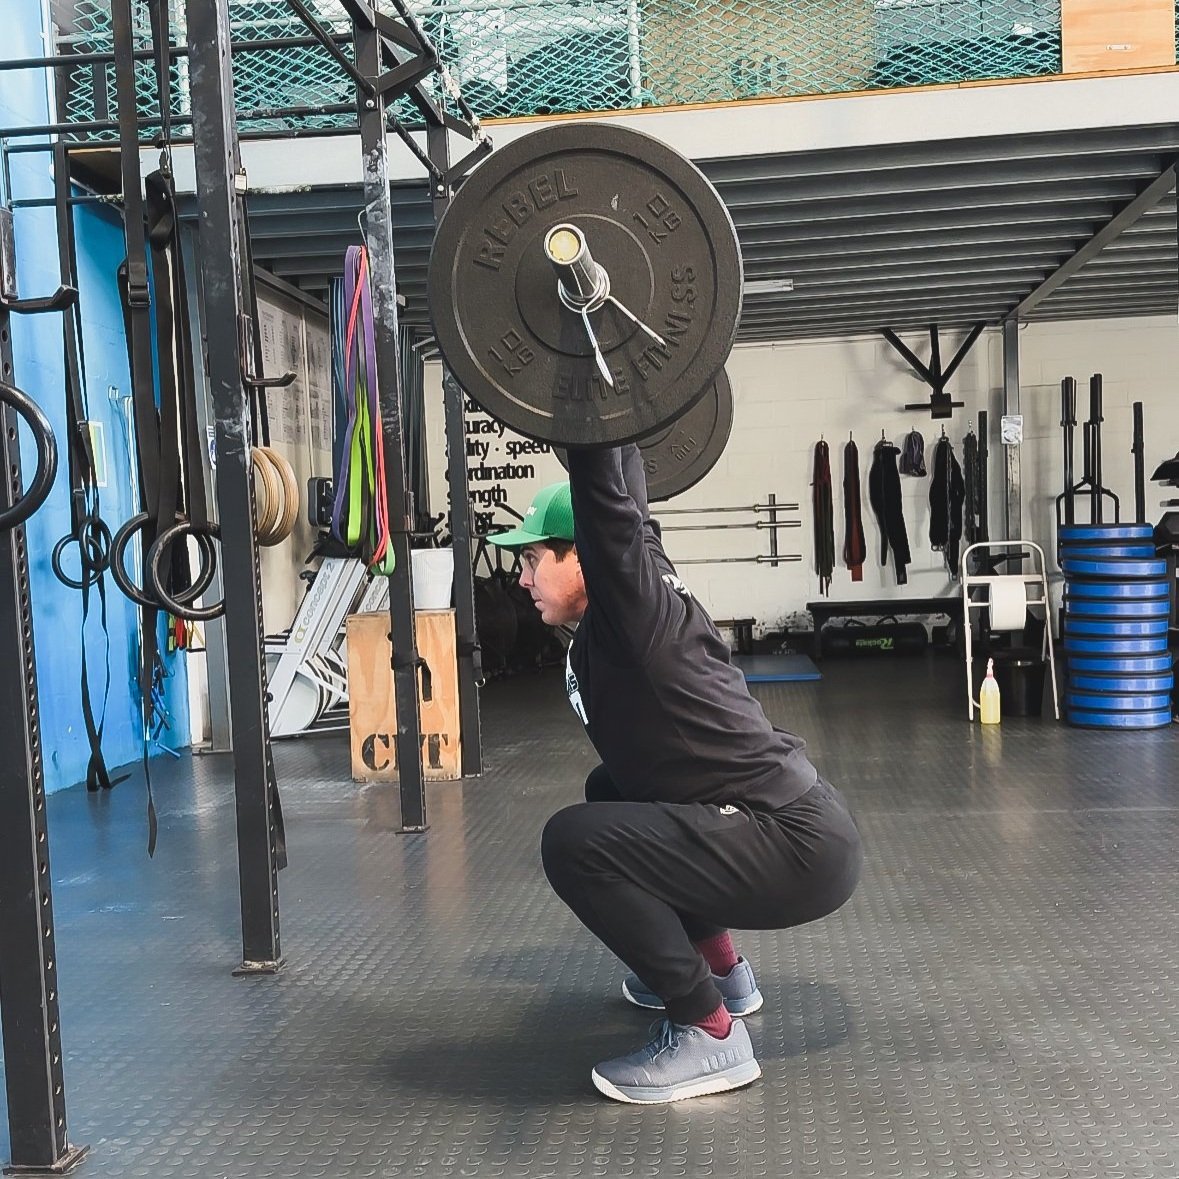
A good overhead squat starts by "breaking" at the hips. Here’s what you should aim for:
Start with your weight on your heels – This ensures a stable base.
Hips back, bum down – Imagine sitting down onto a chair behind you. Your hips should move backward as your knees bend, keeping your torso upright.
Keep the barbell overhead – Throughout the movement, your arms should remain locked, with the barbell directly above your head, maintaining balance and posture.
How to Fix a Muted Hip
Next time you attempt an overhead squat, focus on the following cues:
Engage your hips first: Before bending your knees, push your hips back as though you’re reaching for a seat behind you.
Maintain a neutral spine: Keep your chest up and your core tight to stabilise your torso.
Drive through your heels: As you descend, keep your weight distributed through your heels to help with balance and control.
By practicing these steps, you’ll be able to correct the muted hip and improve your overhead squat form. Over time, this will enhance your performance and reduce the risk of injury.


